
The Ultimate Guide to Tie Dye Patterns: Easy to Advanced Designs
Tie Dye Patterns, as the name suggests, is a process of dyeing fabrics after you tie them in a manner that gives beautiful designs on the material.
Anyone can do this, and it is a great hobby. You can create beautiful t-shirts, bed sheets, scarves, skirts, and pants.
If creativity is your virtue, you can create endless tie-dye patterns that yield beautiful designs on the fabric. All you need to do is stretch your imagination completely.
The tie dye patterns you create depend on how you fold your material. The process of tie dye involves folding the material and then tying at various portions using strings. Then, the dye is applied to the fabric.
The dye does not reach the areas that are tied with rubber bands or strings. So here, folding the material is the key. Basically, how you fold your fabric and the colors you use will determine the design of the final product. So, you must first fix up what kind of designs you wish to create.
Designs can be circular, striped, and random. Random designs include items like butterflies, flowers, leaves, diamonds, rosettes, squares, and ovals.
Let us discuss some tie dye patterns you can create:
Knot Tying: This pattern is ideal for working on light materials and long sleeves. You have to carefully twist the fabric first from both ends like a rope and tighten it. Then, you can fasten using strings. You can tie as many even knots as you need on the fabric, depending on your design. This pattern will give you fine lines.
Pleats: Lay the garment flat and, using your hands, pinch it to get folds on the material. Continue creating these folds on the entire fabric. You could change the size of the folds on both hands or one hand to get the required design. Fasten the folds several times tightly and knot the strings. This is one of the basic tie dye patterns that can be used for making diamonds, squares, ovals, or any symmetrical design.
Spirals: You create a spiral pattern by gathering a section of the fabric using your thumb or a fork, rotating it to create pleats in swirls all around the center. Get the loose ends within the circle and flatten the fabric using your palm. It will resemble a pancake. Take rubber bands and slide them over the cloth without disturbing the design. Let the rubber bands meet at the center. You can use various colors, and the spiral created on the material looks stunning.
Other Tie Dye Patterns Include:
Electric Bunching: Bring together the ends of the fabric in bunches and shape it in the form of a ball. Fasten it well with rubber bands and try and retain the shape. Then dye it. This gives the pattern of electric light or lightning-like design.
Rosettes: Make dots on the fabric as the center of the rosette. Pick the dots together and at the base of the circles, tie them up with strings. Wrap very well to the tip.
Stripes: To make stripes, you must roll the garment loosely and get it together like a tube. You will get vertical stripes on the tube. Tie them at various intervals depending on how close you want the stripes. Using strings, tie several times very tightly. Apply dye by either immersing the garment or squirting colors on it.
Listed above are only a few basic tie dye patterns. You can create countless designs depending on the patterns you select.
Tulip One-Step has been voted the favorite among tie-dye brands in a nationwide survey. Their one-step mixing process, ease of use, and amazing color assortment are just a few reasons…
This Tie Dye Party Kit is available from Amazon
![]()
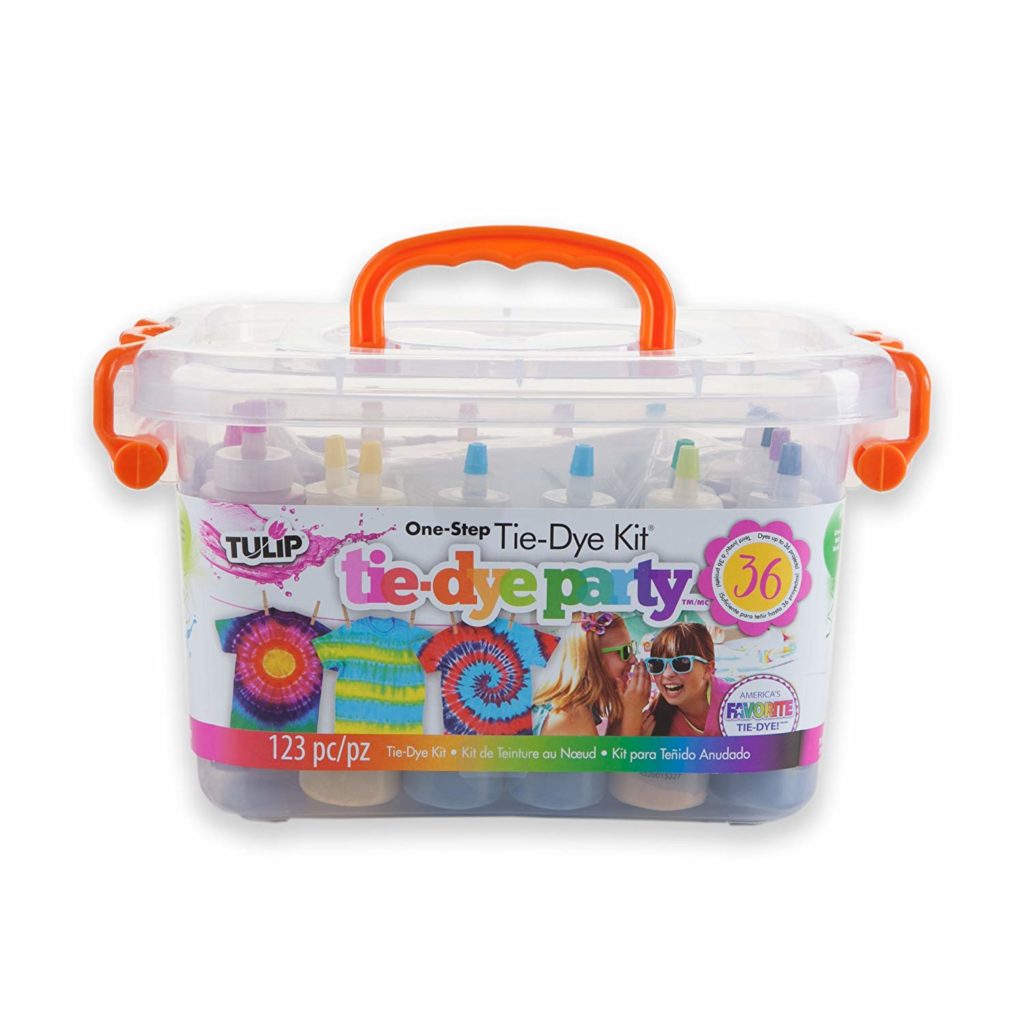
Tie Dye Party Kit
- Kit includes a reusable plastic storage bin stocked with enough tie dye supplies to create up to 36 projects. Features 18 easy-squeeze bottles of highly-concentrated nontoxic One-Step dyes in 14 popular colors – just add water to activate.
- No need to presoak fabrics in soda ash before dyeing
- Includes step-by-step technique guide featuring over 8 tie dye patterns to choose from.
- Dyes are safe to machine wash – colors stay bright and bold through repeated washings
- Use 100% natural fiber fabrics like cotton, rayon, and wool for the best results
- Perfect for large summer camps, parties, school events, family reunions, and other group activities
Tie-Dye Patterns FAQ: Your Questions Answered
What are the easiest tie-dye patterns for beginners?
The simplest patterns to start with are:
- Crumple (Random): Just scrunch and dye!
- Spiral: Twist fabric into a swirl for classic psychedelic results.
- Bullseye: Create concentric circles with rubber bands.
Pro Tip: Use pre-mixed dye kits (like Tulip One-Step) for hassle-free color application.
How do I make my tie-dye patterns more vibrant?
- Pre-soak fabric in soda ash (1/2 cup per gallon of water) for 15–30 minutes before dyeing.
- Let dye sit for 12–24 hours before rinsing.
- Use fiber-reactive dyes (e.g., Dharma Trading Co.) for long-lasting brightness.
Can I tie-dye synthetic fabrics like polyester?
Most tie-dye dyes work best on natural fibers (cotton, rayon, linen). For polyester or blends:
- Use disperse dyes (like Rit Dyemore).
- Heat-set with an iron or dryer for colorfastness.
Why do my tie-dye patterns look muddy?
Common causes:
- Overlapping colors (e.g., red + blue = brown). Stick to 2–3 complementary colors.
- Not rinsing thoroughly until the water runs clear.
- Dye is bleeding from insufficient rubber bands.
How do I create a heart-shaped tie-dye pattern?
- Fold the shirt vertically in half.
- Sketch half a heart along the fold with chalk.
- Pinch and bind the outline with rubber bands.
- Dye the heart one color and the background another.
What’s the difference between ice-dye and regular tie-dye?
| Feature | Ice-Dye | Regular Tie-Dye |
|---|---|---|
| Method | Dye powder + melting ice | Liquid dye application |
| Effect | Watercolor, marbled look | Bold, defined patterns |
| Best For | Subtle gradients | High-contrast designs |
How do I wash tie-dye to prevent fading?
- First wash: Use cold water + 1 cup vinegar to set colors.
- Later washes: Turn inside out and use mild detergent.
- Avoid bleach and hot water.
Can I reuse tie-dye rubber bands?
Yes! Rinse bands in cold water after use. For intricate patterns (like mandalas), replace worn bands to maintain tension.
What’s the best fabric for tie-dye?
- #1 Choice: 100% cotton (absorbs dye best).
- Alternatives: Bamboo, rayon, or cotton blends (≥80% natural fiber).
- Avoid: Waterproof or heavily synthetic fabrics.
How long does tie-dye last?
With proper care:
- Store-bought kits: 10–20 washes.
- Fiber-reactive dyes: 50+ washes (or indefinitely if heat-set).
Amazon's Tie Dye Kits
TieDyeInstructionsManual.com is a participant in the Amazon Services LLC Associates Program, an affiliate advertising program designed to provide a means for sites to earn advertising fees by advertising and linking to Amazon.com.
Links on this tie dye patterns page are sponsored affiliate links, and the owner makes a commission if you buy after clicking these links. The owner is not a bona fide user of this product. However, he has thoroughly researched it and provided a personal opinion only. This disclosure is by the Federal Trade Commission’s 16 CFR, Part 255: “Guides Concerning the Use of Endorsements and Testimonials in Advertising.”